Flow Component
A Flow Component can be used to rapidly reuse common integration solutions in your environment. It enables you to save a flow as a component that can be used in any flow to quickly multiply your solutions for new customers or environments.
Example usage
You have created a flow with (a part of) an integration solution that you want to reuse for different clients. When you install this flow as a Flow Component you can:
- Use it in your flows repeatedly, just like a normal component.
- Define Flow properties to easily customise it for each client. The values of the Flow properties can be changed in the flow you add the Flow Component to.
- Give it a custom icon to 'brand' your solution and distinguish it from other components.
Using Flow Components
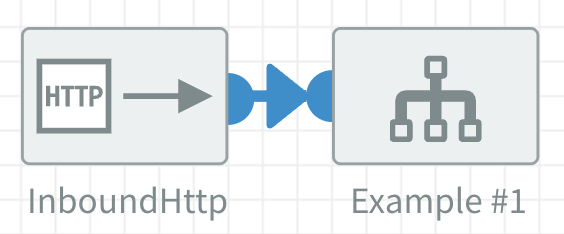
You can drag an installed Flow Component into a flow, just like other components, as shown in the image below.
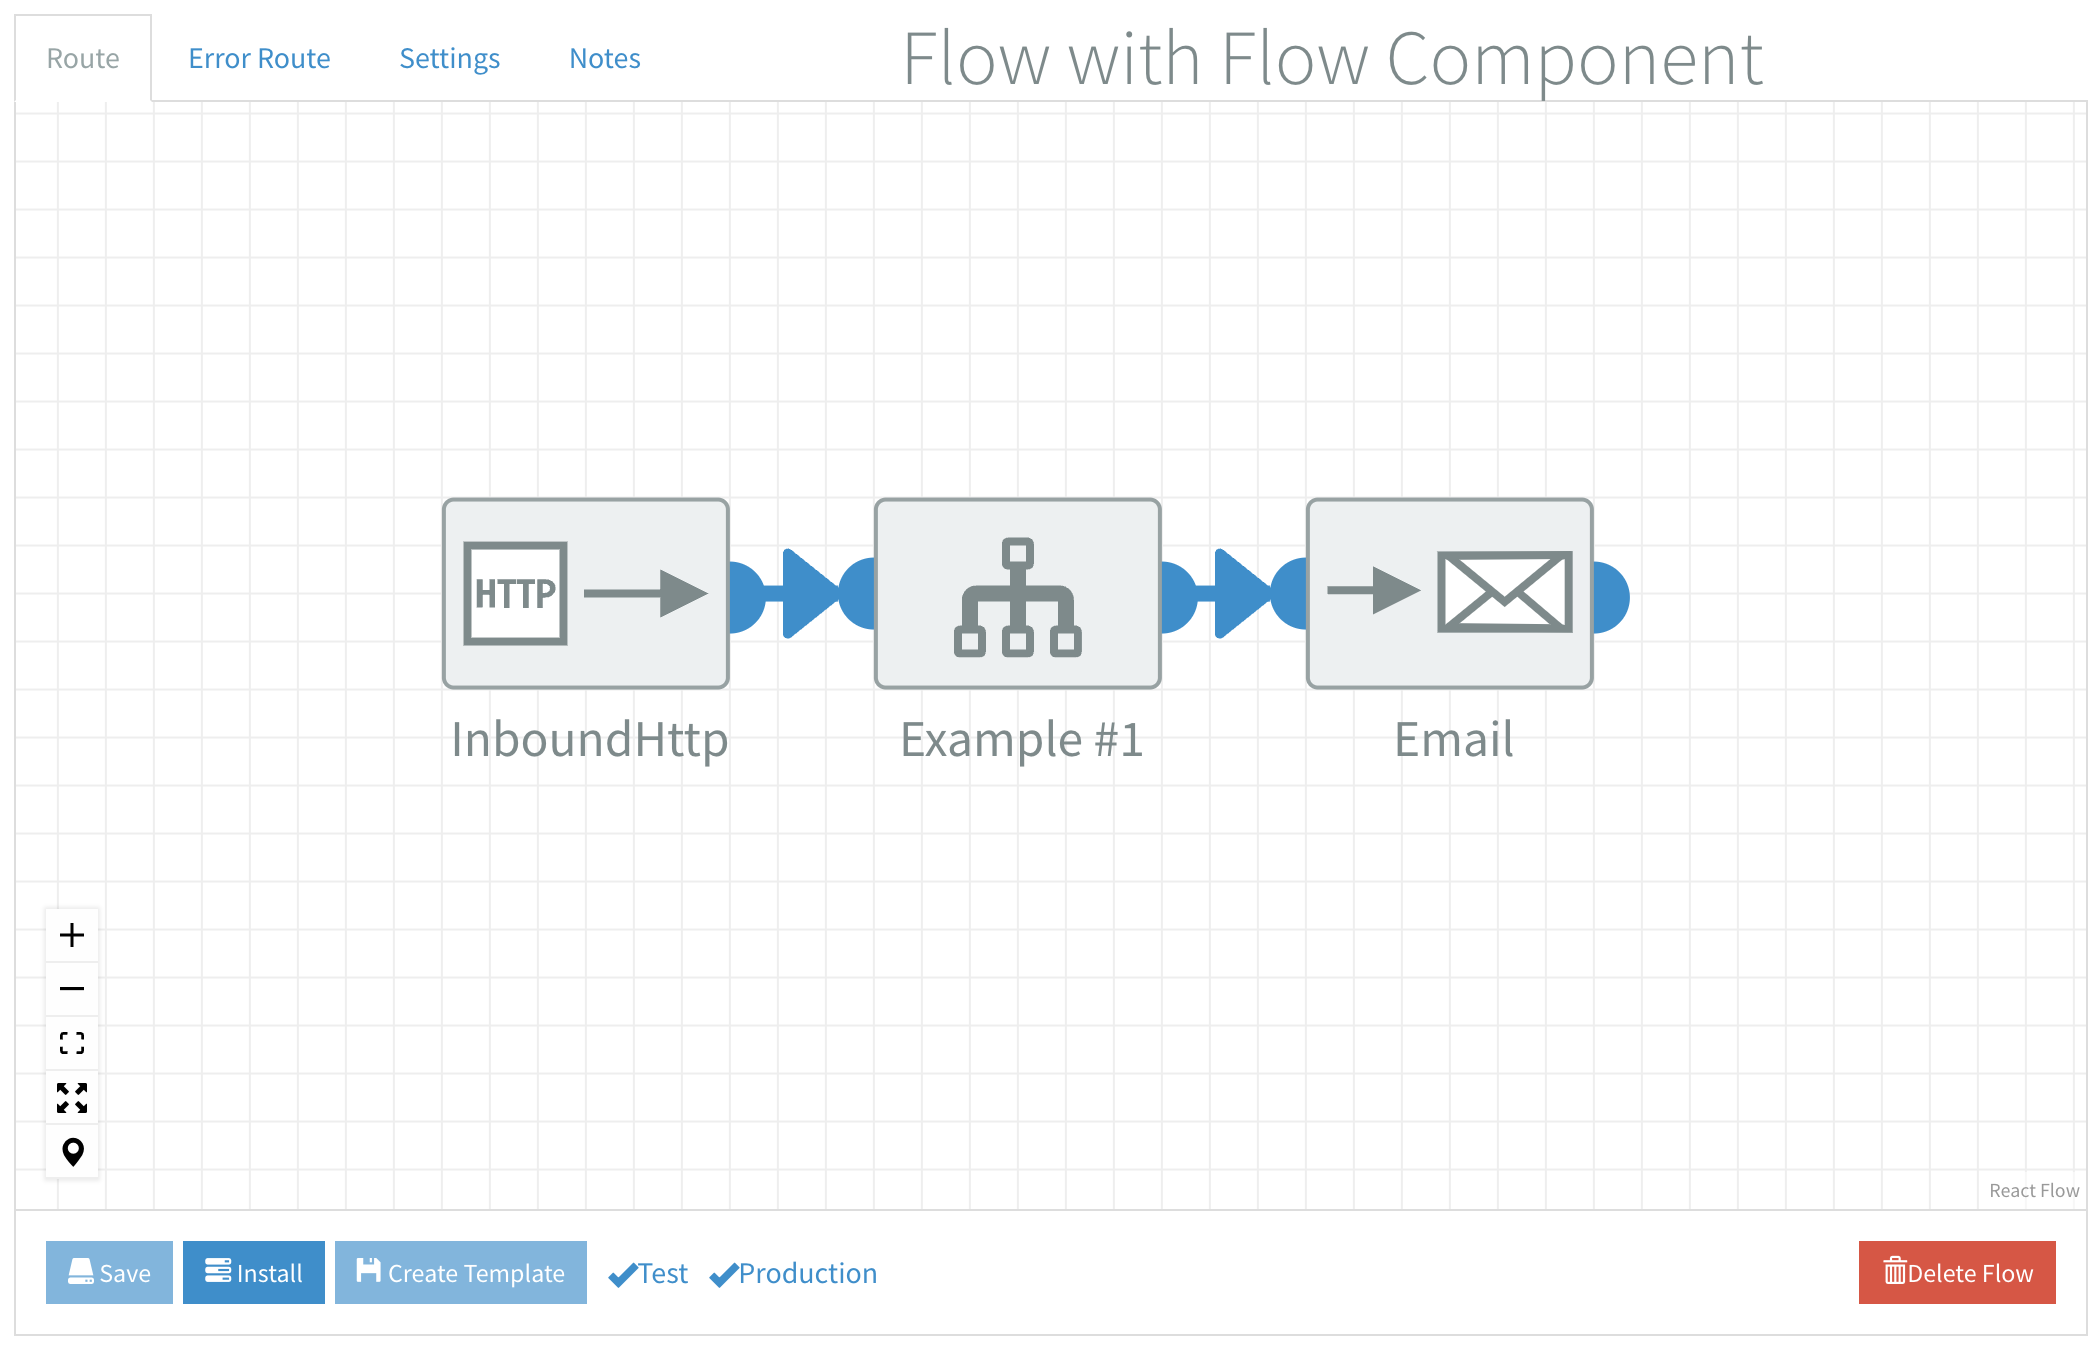
A Flow Component on the canvas has the same
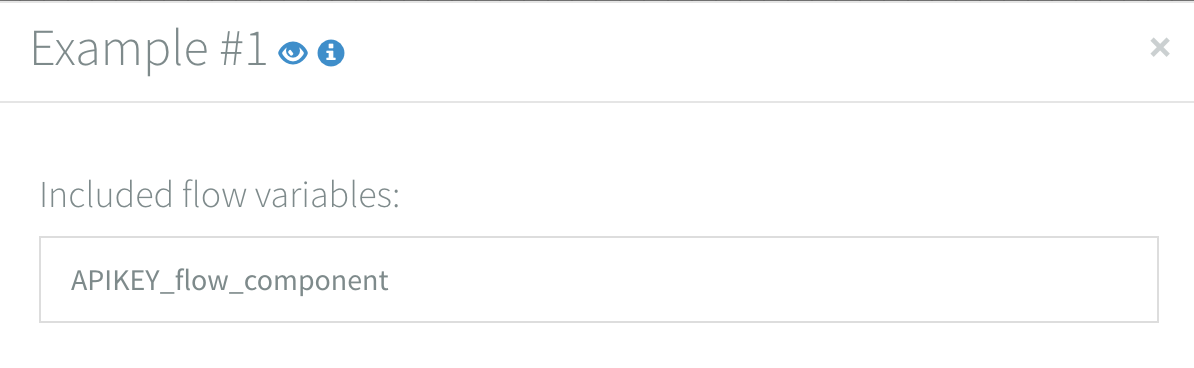
Flow Component properties
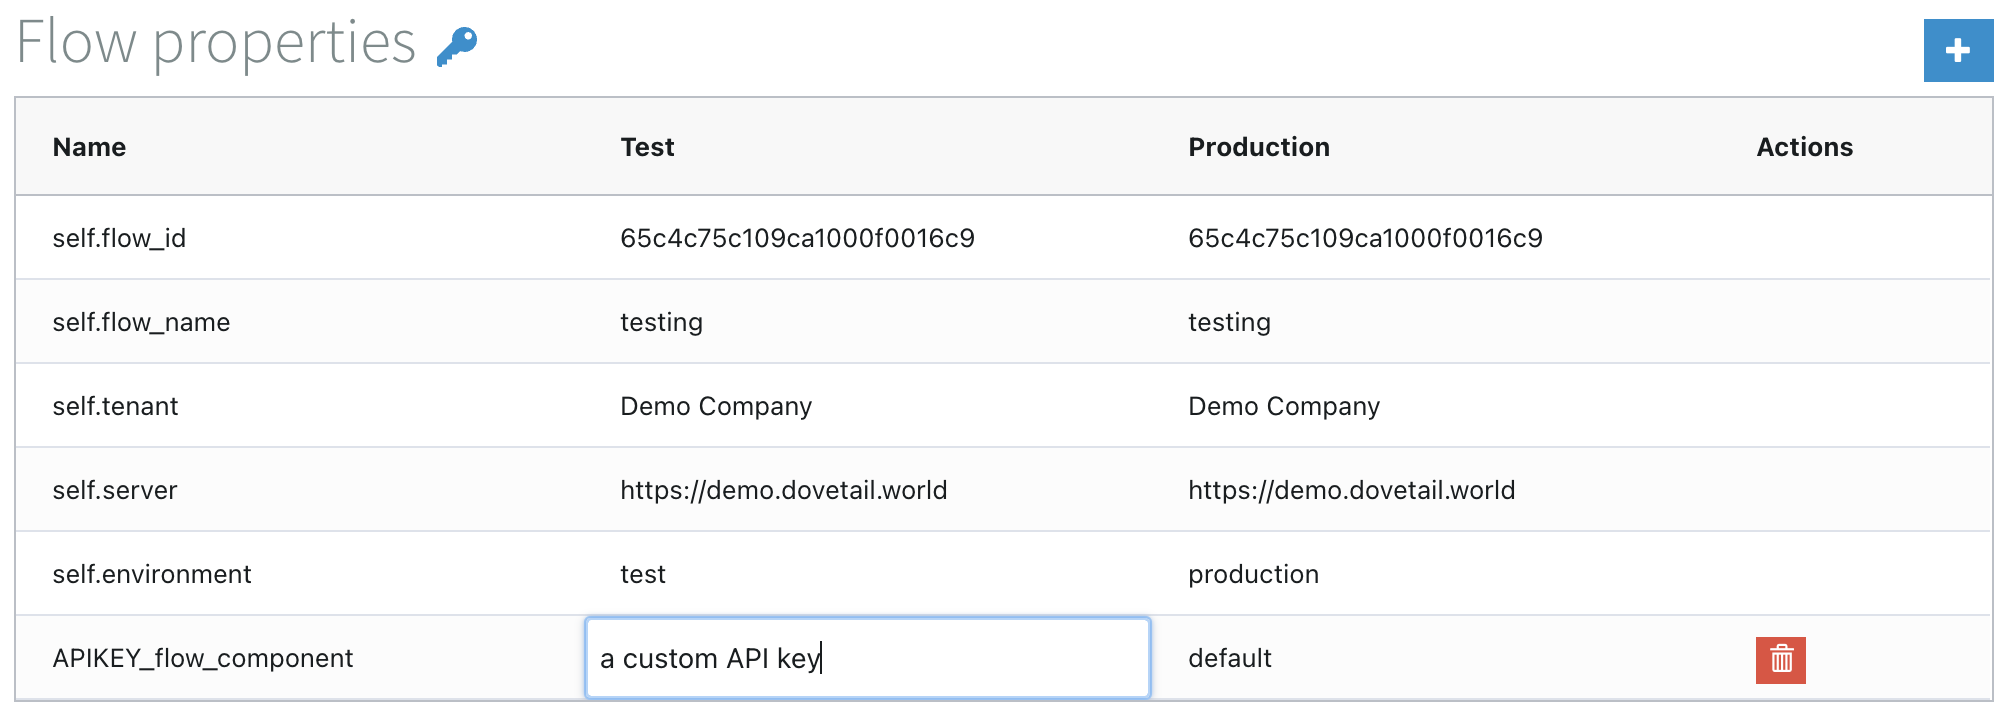
Flow properties that are defined in a Flow Component are added to the Flow properties of a flow you drag it into. You can change the values of these Flow properties in the Settings of that flow. The example in the image below shows an example of updating a Flow property that was 'imported' with a Flow Component.
Installing a flow with a Flow Component
Whenever you install a flow with a Flow Component in it, it is 'replaced' with the flow designed in the Flow Component. The components in your Flow Component are 'inserted' in the flow at its location.
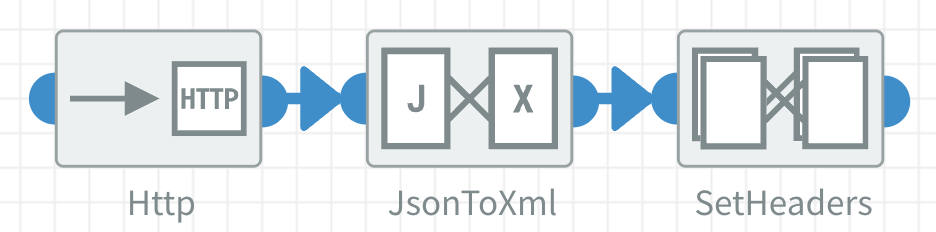
If your Flow Component is designed as shown in the image above then the installed flow would perform the same as when you dragged these components in there as you normally would.

Create a Flow Component
Open an existing flow that you want to create a Flow Component for or create a new flow. Navigate to the flow Settings of the flow and enable the Enable Flow Component setting.
When transforming a flow to a Flow Component the Flow Designer view changes. The Error Route tab disappears and the buttons at the bottom are different. A Flow component has less Settings available because the flow it is implemented in is going to define these. Additionally an Icon setting is added.

Developing a Flow Component
When you implement a Flow Component in a flow it is mandatory to connect its input, while connecting its output is optional. Additionally a Flow Component can only have one output connection.
So a Flow Component:
- Can start with a component that needs an input.
- Can't start with a component that has no input.
- Can only start with one component.
- Can end with multiple 'last' components, but it will have its output connection removed.
Flow Component with multiple last components
The example below, a flow with multiple 'last' components, is a valid Flow Component.
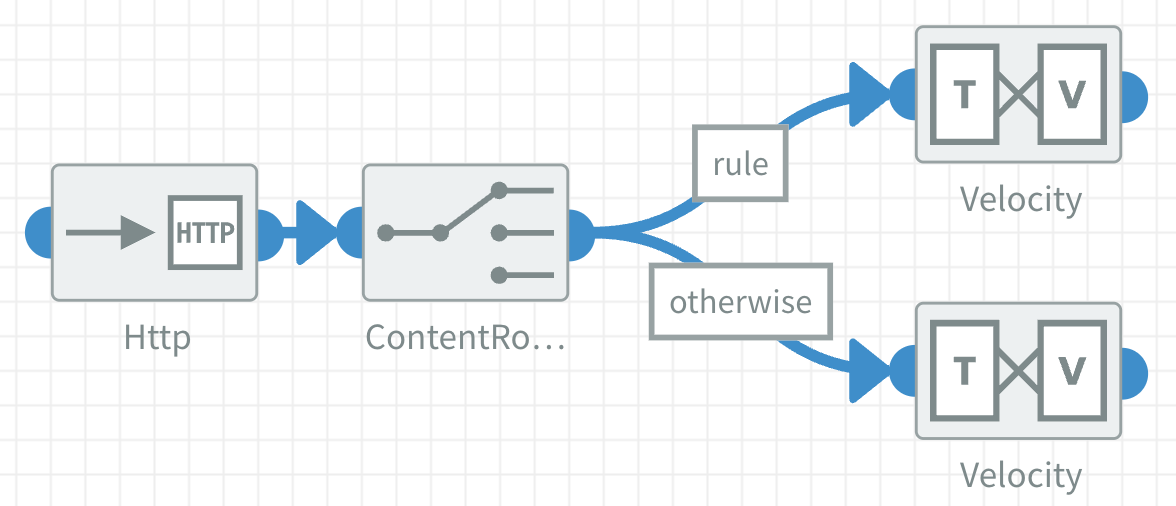
It doesn't have an output connection when you drag it into a flow, as shown below. Limiting it's use case to be the last component in a flow.
Add an icon
You can add a custom icon to your Flow Component by clicking the Browse button on the icon setting. At the moment we only support SVG images and the size is also limited to 50kB. When you've added your icon, you can preview it by clicking the Preview button.
Controls
Use the Save and Install button like you normally would to save and install a Flow Component.

After you fill in your Version remark and click the Install button this newly created version of the Flow Component shows up in the Component library in the group Flow Components.

Use the Delete Component button to completely delete a Flow Component.
Versioning
When you install a Flow Component, a new version is added to your Component library alongside any previous versions. The version number is added to the name of your Flow Component as shown in the picture above.
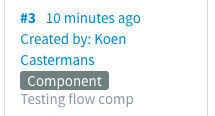
Installed Flow Component versions show a Component label in the Versions sidebar.
Installing a new version of a Flow Component will not update previous versions used in flows. If you want to use another version of a Flow Component in a flow you replace it and reinstall the flow.
Validations
In general validations function the same as normally, for some components the minimum required connections have been reduced. Validations messages show up in the Validations sidebars or are shown as popup messages as usual.
Flow properties
You can define Flow properties in the Settings of your Flow Component. They are included when you install a Flow Component and are added to the Flow properties of the flow you drag a Flow Component into. This gives you the opportunity to customise a Flow Component without having to create a new version. You can add a url or API key property that's uniquely definable for each customer for example.
Meta data
You can implement Meta data Flow properties in a Flow Component, for instance #{self.flow_name}. They are not included like the user defined Flow properties when you install a Flow Component. The meta data variables of the flow that you place your Flow Component in will be used instead. This way you can create reusable components that for example create detailed error messages.
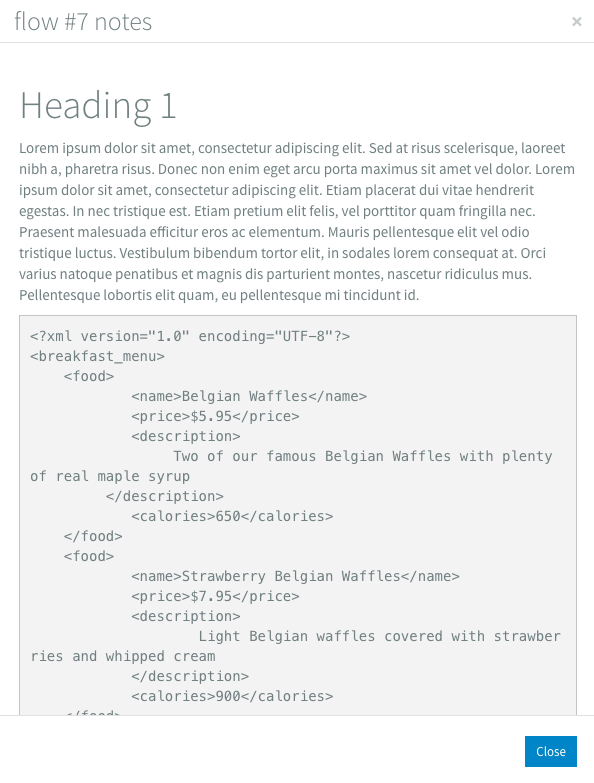
Notes
Use the flow notes to document your Flow Component. Click the